
How to Cut Metal Roofing Panels: A Step-by-Step Guide for a Perfect Fit
Table of Contents
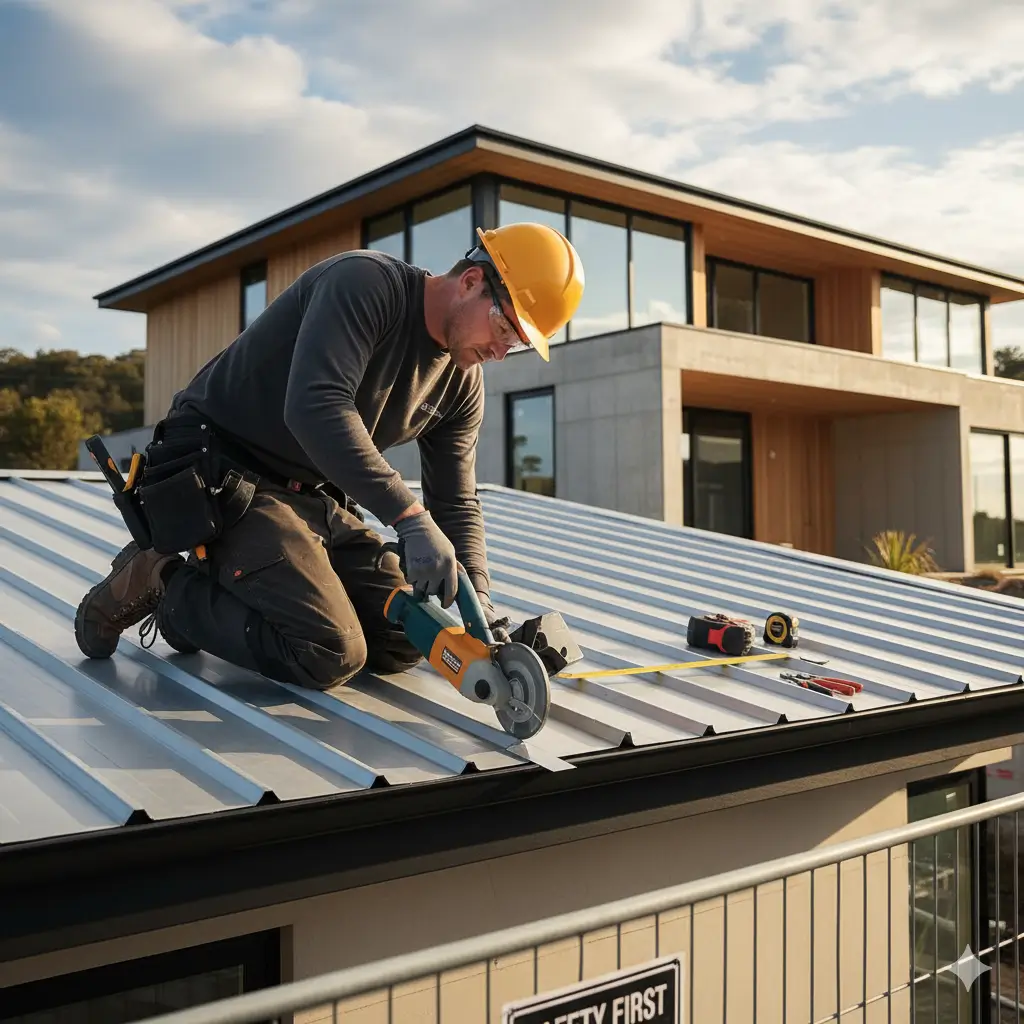
Metal roofing is a strong, durable choice for homeowners and contractors alike. Whether you’re installing a new roof, making adjustments for utilities, or simply ensuring the perfect fit for your project, cutting metal roofing panels is an essential skill. However, it’s crucial to do it correctly to avoid damage to the material and ensure a clean, professional finish.
In this guide, we’ll walk you through the most effective and safest ways to cut metal roofing panels. By using the right tools, following the proper techniques, and paying attention to safety, you’ll achieve accurate cuts every time — no matter the complexity of your roof. Ready to get started? Let’s dive into the best practices for cutting metal roofing!
Safety Tips for Cutting Metal Roofing: Protect Yourself and Work Safely
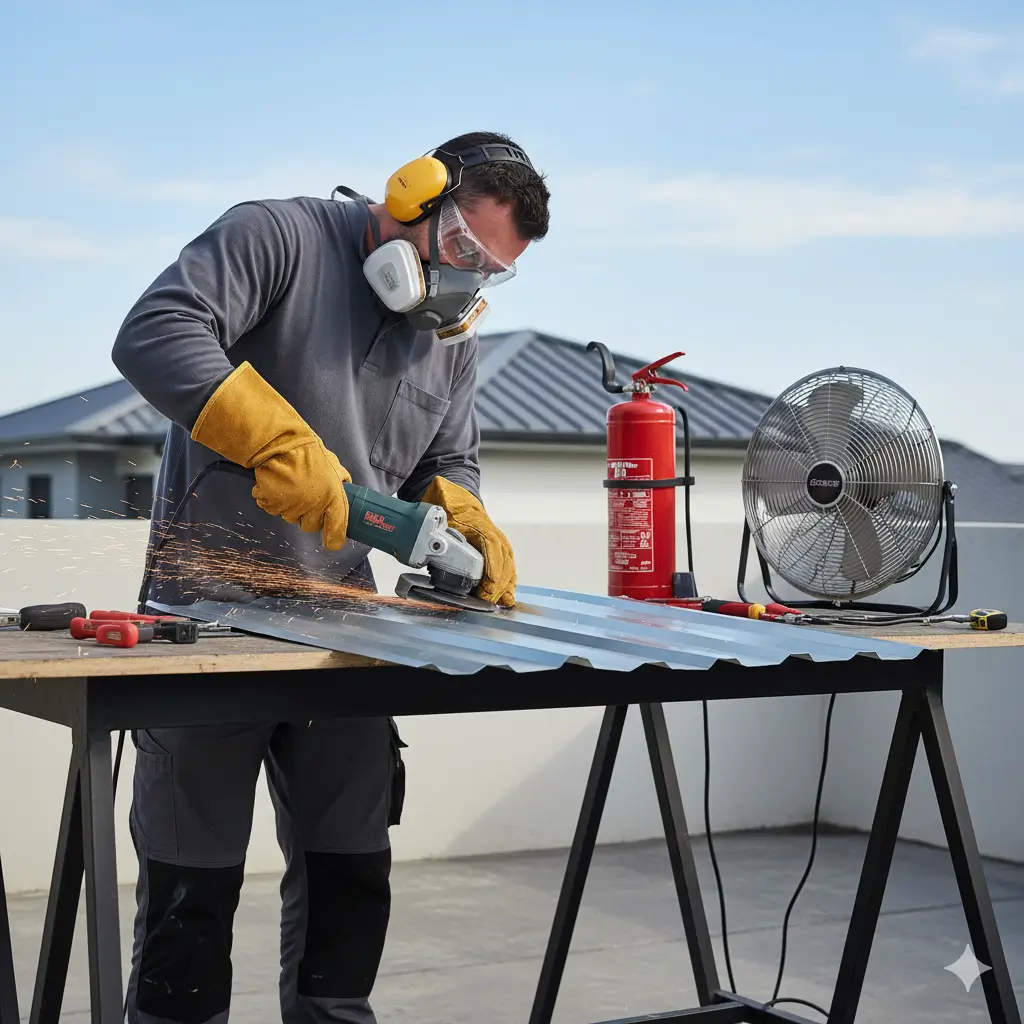
Cutting metal roofing is an essential skill for any DIYer or professional roofer, but it’s important to prioritize safety during the process. The sharp edges of metal panels, flying debris, and loud noises can pose serious risks if the proper precautions aren’t taken. Whether you’re cutting sheets with tin snips, an angle grinder, or a circular saw, here are some crucial safety tips and PPE recommendations to keep in mind.
Personal Protective Equipment (PPE): Protect Yourself
Before you start cutting, make sure you’re fully equipped with the right personal protective gear (PPE). PPE is your first line of defense against injury and discomfort.
1. Heavy-Duty Gloves:
- Wear gloves that protect against sharp edges, metal shavings, and debris. Gloves with a good grip are essential when handling power tools and metal panels.
- Tip: Choose cut-resistant gloves made from materials like Kevlar for extra protection.
2. Heavy-Duty Gloves:
- Always wear safety goggles to protect your eyes from flying metal shavings and particles, which are especially common when using power tools like grinders and saws.
- Tip: Ensure the goggles fit well and provide a full seal to keep out any small debris.
3. Ear Protection:
- Cutting metal can generate loud noise, particularly when using tools like circular saws, angle grinders, and electric metal shears. Over time, this can lead to hearing damage.
- Use earplugs or earmuffs to reduce noise levels and protect your hearing. Look for ear protection rated for high-decibel environments (e.g., 85 decibels or more).
4. Respiratory Protection:
- When cutting metal, especially with grinders or saws, fine metal dust and particles can become airborne, posing risks to your lungs.
- Wear a dust mask or respirator to prevent inhaling metal dust, particularly in confined spaces. Opt for an N95 or P100 respirator for better filtration.
Workplace Safety: Create a Safe, Efficient Environment
The safety of your workspace is just as important as your PPE. A disorganized or hazardous work environment can lead to accidents and delays.
1. Flat, Stable Work Surface:
- Make sure your metal panels are positioned on a flat and sturdy surface. This can be a heavy-duty workbench or solid ground where the metal is securely clamped to prevent shifting.
- If you’re working on a rooftop, use stable ladders and scaffolding to ensure that you have safe access and a solid footing.
2. Clean and Organized Workspace:
- Keep the work area clear of unnecessary clutter. Metal shavings, debris, and unused tools can create tripping hazards.
- Regularly clean the area to prevent accidents. If you’re cutting on a rooftop, check for obstacles like loose debris, cables, or unstable areas.
3. Fire Safety:
- Angle grinders and circular saws can produce sparks, which may cause fires, especially in dry or flammable environments.
- Always keep a fire extinguisher nearby when using these tools. It’s also a good idea to have a bucket of water or a fire blanket on hand, particularly if you’re cutting metal on a roof with dry vegetation nearby.
4. Proper Ventilation:
- If you’re working indoors or in an enclosed space, make sure the area is well-ventilated to allow metal dust and fumes to escape. Use a fan or work in an open area if possible.
- Tip: Avoid working in poorly ventilated areas, as the fumes from some cutting tools can be harmful to your health.
Additional Safety Considerations: Tools, Materials, and Environment
1. Choose the Right Tool for the Job:
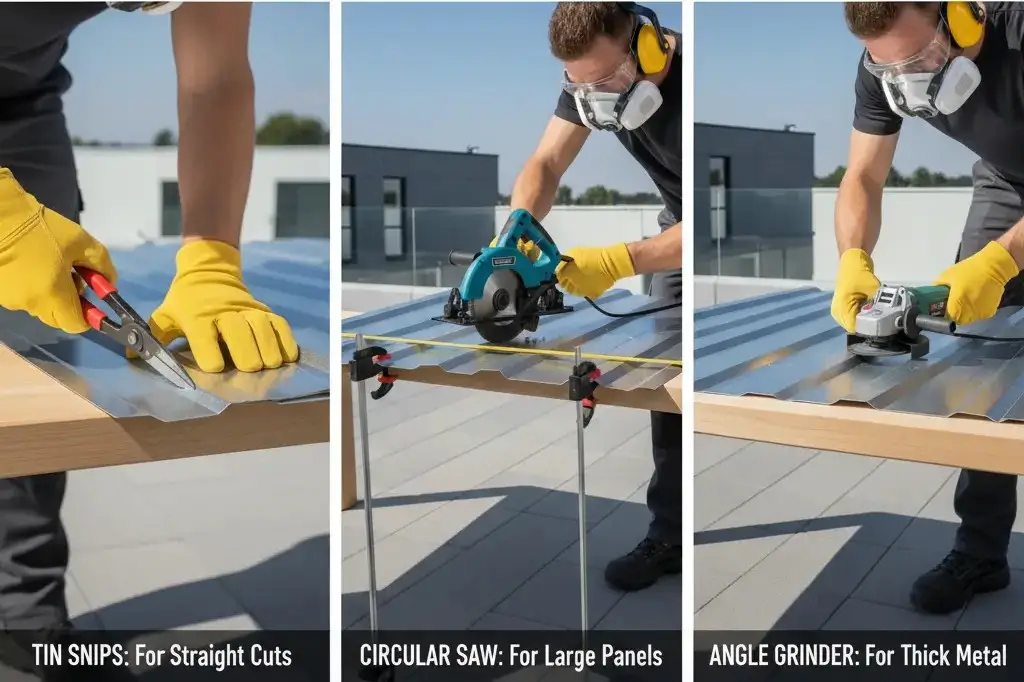
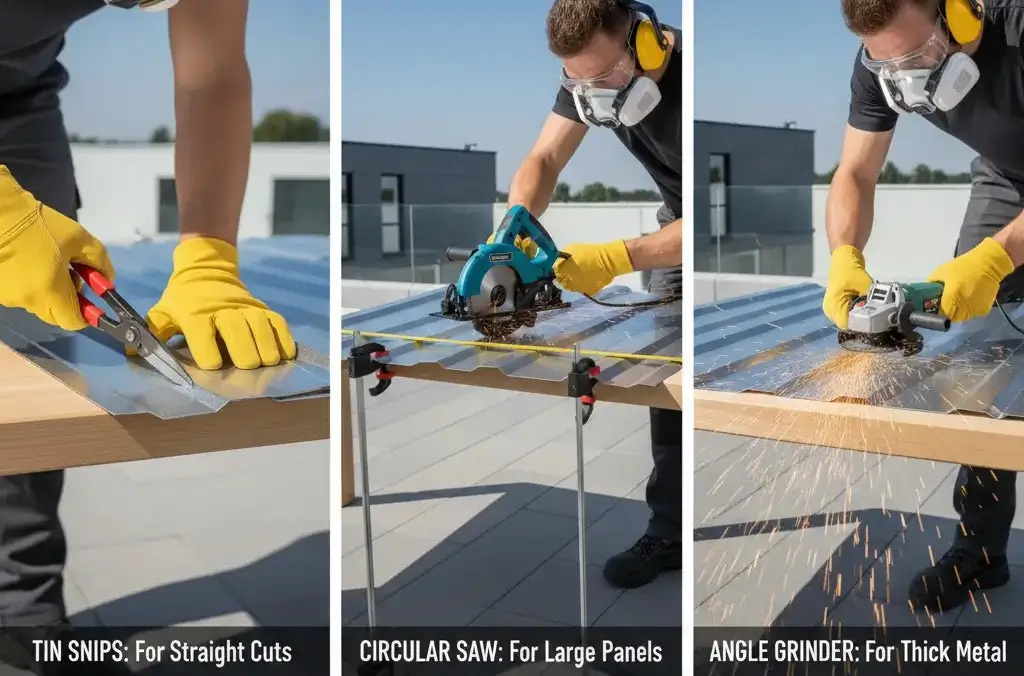
- Select your cutting tool based on the thickness of the metal and the type of cut you need. For thinner metal, tin snips are ideal, while thicker materials may require electric shears, angle grinders, or a circular saw.
- Always use tools designed specifically for metal cutting to ensure a clean, precise cut and reduce safety risks.
2. Check the Tool's Condition:
- Inspect your tools before use. Dull blades, worn-out discs, or malfunctioning power tools can cause more force and lead to accidents.
- Keep cutting tools well-maintained and replace any worn parts as needed to ensure optimal performance.
3. Safe Ladder Practices:
- When accessing your roof, always use a stable ladder. Ensure that the ladder is on level ground and properly secured.
- If possible, have a second person hold the ladder to keep it steady while you work, especially when handling large panels.
Main Considerations: Protecting Yourself and Your Roof
- Thickness of the Material: Always choose tools based on the thickness of the roofing material. Tin snips are suitable for thin metal sheets, while thicker panels will require shears or saws. Using the wrong tool can cause jagged cuts or injuries.
- Type of Cut: If you’re making straight cuts, tin snips or shears will do the job. For angled cuts or larger sections, you might need a circular saw or angle grinder.
- Handling and Transport: Be cautious when lifting and moving the metal panels. Sharp edges can cause cuts, so always wear gloves when handling roofing materials.
How to Cut Metal Roofing Panels: Step-by-Step Guide
Cutting metal roofing panels requires precision, the right tools, and a high level of safety awareness. Whether you are tackling a DIY roofing project or working on a professional installation, following these steps ensures clean cuts, reduces mistakes, and improves the overall quality of your roofing work.
Here’s a comprehensive, step-by-step guide to help you cut metal roofing panels like a pro:
Step 1: Gather the Right Tools and Safety Gear
Before you begin cutting, ensure you have the right tools and protective equipment. Cutting metal roofing can be challenging without the proper tools, and safety should always be your top priority.
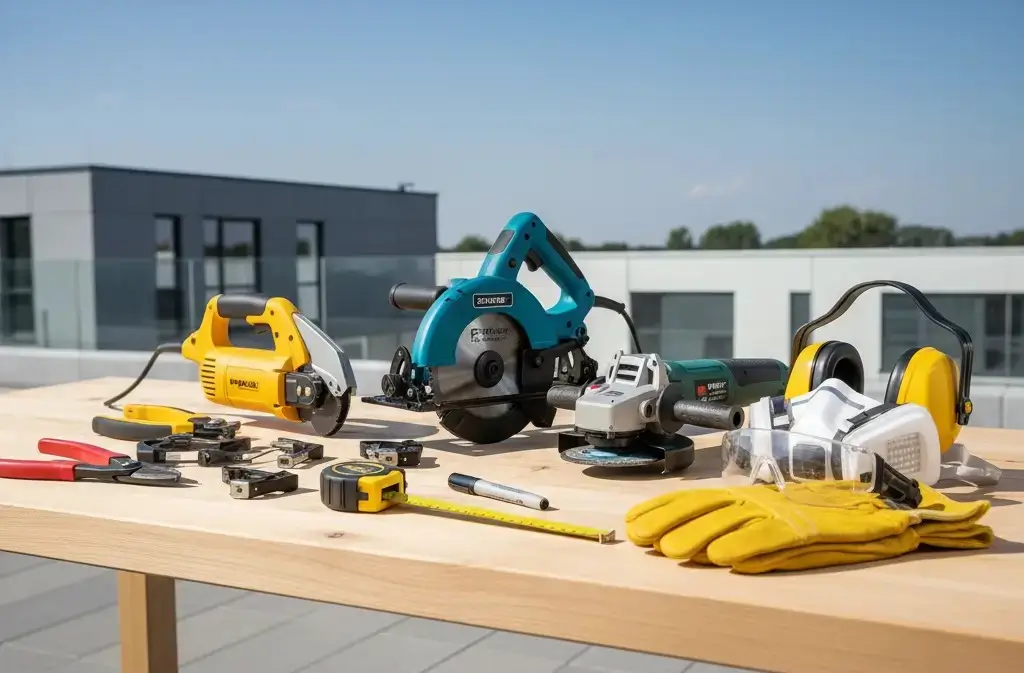
Essential Tools:
- Tin Snips: Great for smaller, detailed cuts. Choose between straight-cut, left-cut, or right-cut snips depending on your needs.
- Power Shears: Electric or pneumatic shears are perfect for making straight cuts quickly and efficiently.
- Circular Saw with Metal Cutting Blade: Ideal for cutting large sheets of metal. Always use a metal-specific blade.
- Angle Grinder: Best for thicker metal panels or heavy-duty cutting. Be sure to use a cutting disc suited for metal.
- Measuring Tape and Markers: Accuracy is crucial, so use a reliable measuring tape and a permanent marker to mark your cutting lines.
- Clamps: Secure the panels to prevent movement during cutting, especially when working with large sheets.
Step 2: Measure and Mark the Panels
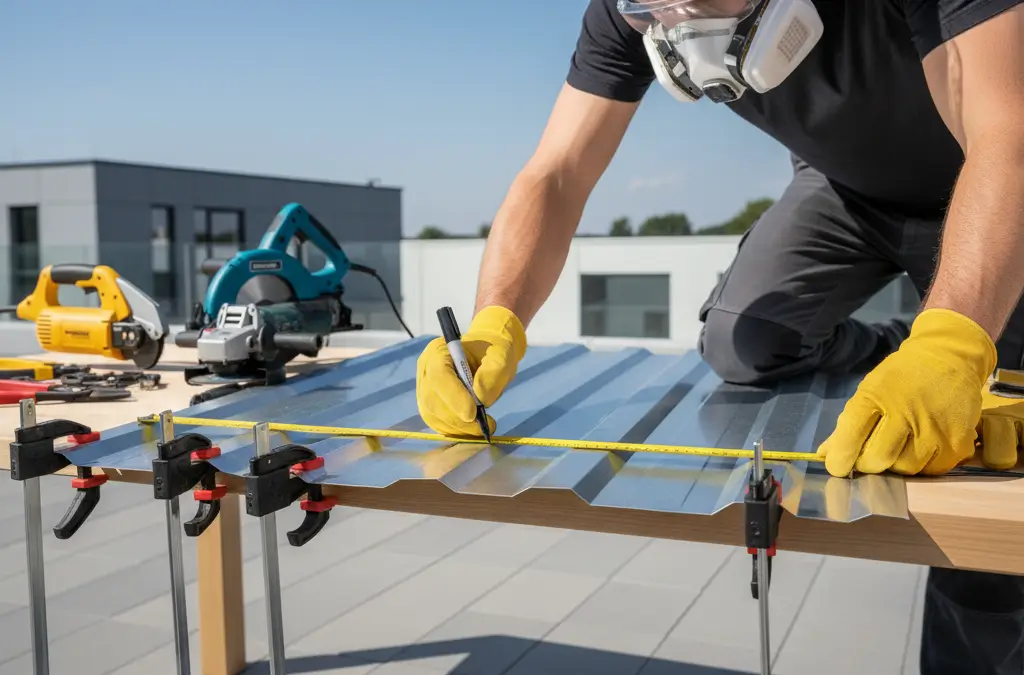
Proper measurements are critical for ensuring your metal roofing panels fit perfectly.
- Measure Twice: Use a measuring tape to get the exact dimensions of the area you want to cover. Take note of any specific angles or contours that will need adjustment in the cuts.
- Mark the Cut Lines: Use a permanent marker or chalk line to draw precise cutting lines. Double-check the dimensions before making any cuts. If you are cutting along a straight edge, a straightedge or level can help guide your line. For corrugated panels, ensure you mark across the valleys or peaks in the proper direction to avoid mistakes.
Tip: For angled cuts or unique shapes (like circular cuts for vents), be sure to sketch the full shape before proceeding.
Step 3: Choose the Right Cutting Tool
Choosing the appropriate tool for your metal roofing material is key to achieving a clean, smooth cut. The tool you use will depend on the thickness and type of metal panel you are cutting.
- For Straight Cuts:
- Tin Snips: Best for thinner sheets of metal or small cuts. Use straight-cut tin snips for long, straight cuts, and left- or right-cut snips for angled cuts.
- Power Shears: Ideal for faster, longer straight cuts without too much hand fatigue.
- Circular Saw with a Metal Cutting Blade: Excellent for cutting through larger metal sheets. It’s faster than snips and shears, but it requires experience for safety and accuracy.
- Tin Snips: Best for thinner sheets of metal or small cuts. Use straight-cut tin snips for long, straight cuts, and left- or right-cut snips for angled cuts.
- For Curved Cuts:
- Tin Snips: Use snips designed for curves, and make sure to start the cut by drilling a small hole to get your snips into.
- Drill Nibbler: A drill nibbler is useful for cutting curved or circular shapes, particularly on ribbed metal panels.
- Tin Snips: Use snips designed for curves, and make sure to start the cut by drilling a small hole to get your snips into.
- For Thick Metal Sheets:
- Angle Grinder: This powerful tool is suitable for cutting through thicker sheets of metal, though it does come with higher safety risks due to sparks and debris.
Step 4: Make the Cut
Now that you have your measurements and tools ready, it’s time to cut. Follow the instructions specific to each tool to ensure you make a clean, safe cut:
- Using Tin Snips:
- Position the snips at the edge of the marked line and carefully cut along the path, taking breaks if needed to avoid fatigue.
- For left- or right-cut snips, cut in the direction marked on the snip handles to avoid bending or crimping the metal.
- Position the snips at the edge of the marked line and carefully cut along the path, taking breaks if needed to avoid fatigue.
- Using Power Shears:
- Align the blade with the cutting line and switch on the tool. Guide the shear slowly along the path, applying even pressure for a smooth, consistent cut.
- Align the blade with the cutting line and switch on the tool. Guide the shear slowly along the path, applying even pressure for a smooth, consistent cut.
- Using a Circular Saw:
- Mount the metal cutting blade and adjust the depth setting. Hold the saw securely, and cut slowly along the marked line, making sure to keep a steady hand.
- Mount the metal cutting blade and adjust the depth setting. Hold the saw securely, and cut slowly along the marked line, making sure to keep a steady hand.
- Using an Angle Grinder:
- For heavy-duty cuts, carefully use the angle grinder with a metal cutting disc. Keep the tool steady, and ensure you’re cutting along the marked line. Move slowly to avoid overheating the blade and to achieve a precise finish.
- For heavy-duty cuts, carefully use the angle grinder with a metal cutting disc. Keep the tool steady, and ensure you’re cutting along the marked line. Move slowly to avoid overheating the blade and to achieve a precise finish.
Step 5: Smoothing and Finishing the Cut
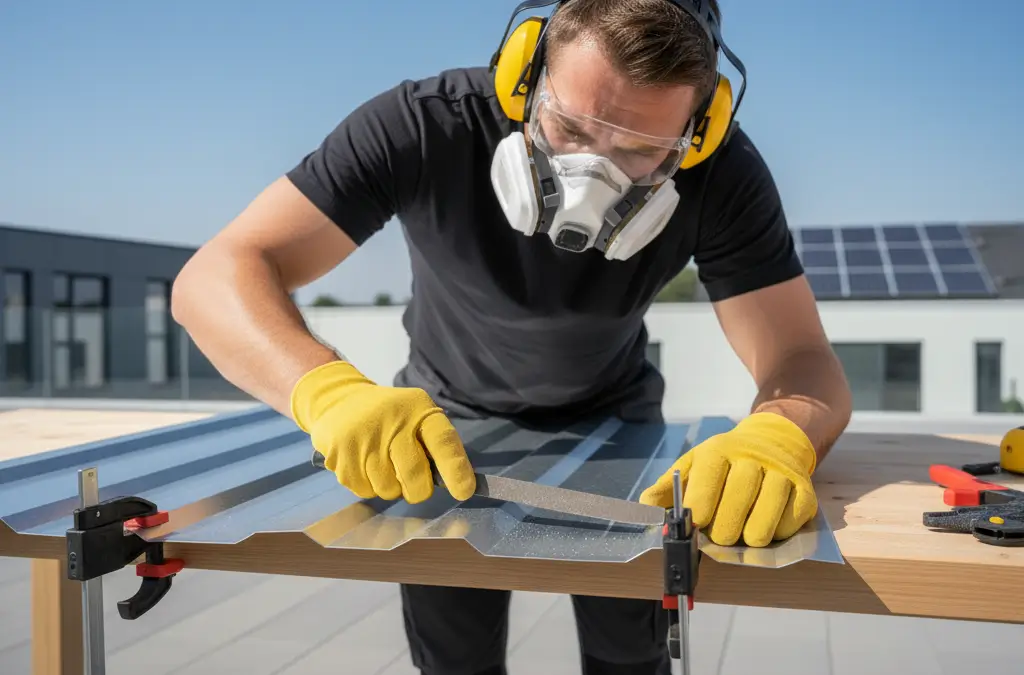
Once you’ve made your cuts, it’s time to smooth the edges and prepare the panel for installation.
- Smooth Rough Edges: Use a metal file or a sanding block to smooth down any jagged edges or burrs left behind from the cutting process. This will not only give your roof a clean appearance but also ensure that there are no sharp edges that could cause injury during installation.
- Check the Fit: Before moving on to installation, double-check that your metal panel fits the intended space. If necessary, trim any excess metal for a perfect fit.
Step 6: Clean Up and Dispose of Metal Shavings
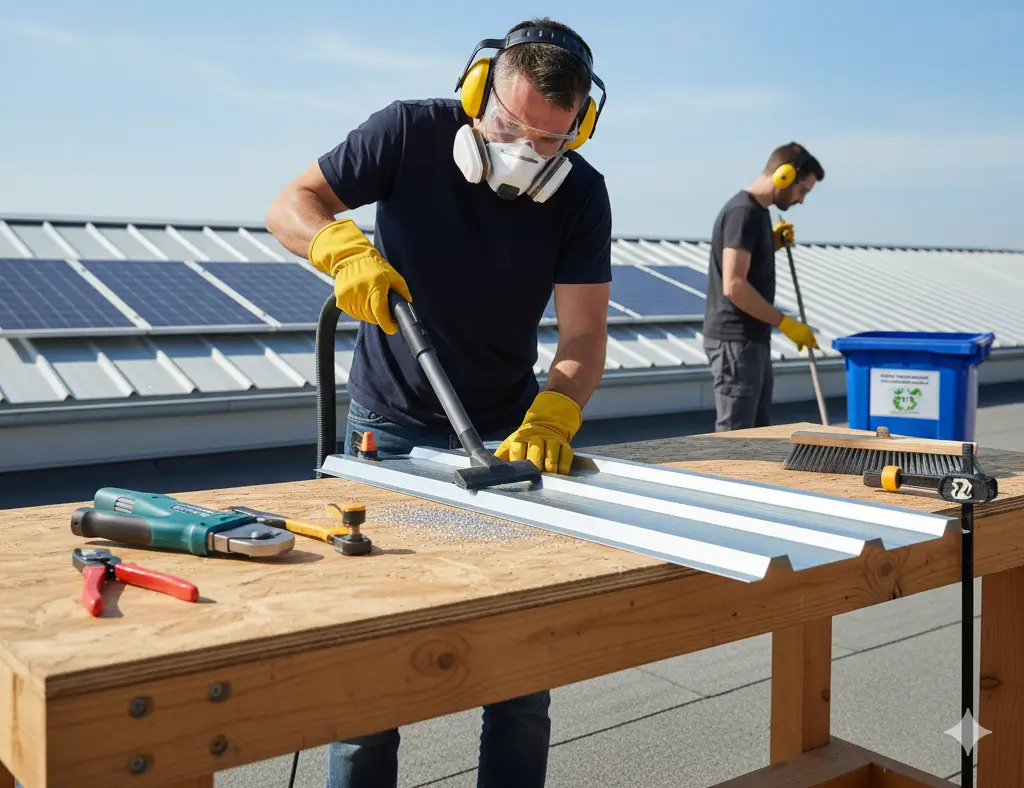
Cutting metal roofing can generate a lot of debris, including metal shavings and dust. Make sure to:
- Clean the Work Area: Vacuum or wipe down the area where you’ve been cutting to remove any metal shavings or dust.
- Dispose of Shavings Properly: Follow local regulations to dispose of the metal waste in an environmentally friendly way.
Frequently Asked Questions (FAQs) about Cutting Metal Roofing
The best tool for cutting metal roofing depends on the thickness of the metal and the type of cut needed. For thin sheets, tin snips are ideal due to their precision. For thicker panels, electric metal shears, angle grinders, or circular saws equipped with a metal cutting blade are more suitable. Make sure to choose a tool that’s designed specifically for metal to avoid damage and ensure safety.
Accurate measurements and markings are essential for a clean cut. Use a measuring tape to measure the dimensions of the metal sheet, and mark the cutting line with a permanent marker or chalk line. To ensure straight cuts, use a straightedge or level to guide your tool. Double-check your measurements to avoid wasting material or making incorrect cuts.
Yes, a circular saw can be used to cut metal roofing, but it’s essential to equip the saw with a metal cutting blade. This ensures clean cuts and reduces wear on the tool. Always proceed with caution when using power tools, and wear proper PPE (gloves, goggles, ear protection) to avoid injuries from flying metal shavings and sparks.
Cutting metal roofing without proper personal protective equipment (PPE) is highly discouraged. Metal sheets have sharp edges, and tools like angle grinders and circular saws can produce flying debris and loud noise. Always wear safety goggles, heavy-duty gloves, ear protection, and a dust mask or respirator to protect yourself from flying particles, loud noise, and harmful metal dust.
Yes, tin snips can be used to cut curved lines in metal roofing, but you should choose the right type based on the direction of the cut. Left-cut and right-cut snips allow for curved cuts in specific directions, while straight-cut snips are best for straight cuts. For tight curves, snips with narrow blades provide greater maneuverability.
To prevent jagged edges, use the proper tool for the job. After cutting, you can smooth out rough edges with a metal file or sanding block. This is especially important when making cuts with tools like angle grinders or circular saws. Deburring tools can also help clean up sharp edges, preventing injury during installation.
When cutting metal roofing on a roof, ensure that you have a stable ladder and harness for safety, especially when working at height. Secure the metal panel with clamps, and always maintain a solid footing to avoid slipping. It's also important to use fall protection gear, such as a harness and anchor point, for safety when working on a sloped roof.
After cutting metal roofing, the cut edges may become susceptible to rust. To prevent this, apply a rust-inhibiting primer to the cut edges as soon as possible. Use a galvanized spray or metal coating to protect the exposed areas. Make sure to clean the surface of any metal shavings and dust before applying protective coatings.
For corrugated metal roofing, the best tool for cutting depends on the type of cut you need. You can use tin snips for straight cuts on thinner corrugated panels. However, for thicker, ribbed panels, electric metal shears or angle grinders will make the job easier. Ensure that your tools can handle the ridges without causing damage to the material.
Cutting metal roofing can be challenging, but with the right tools and preparation, it can be manageable. It’s important to measure accurately, use the correct tools for the thickness of the material, and wear the proper safety gear. If you're new to cutting metal roofing, take your time, start with smaller cuts, and practice until you feel comfortable.
Cutting metal roofing during cold weather is possible, but be cautious. Cold metal can become more brittle, making it more prone to cracking or breaking during cutting. Ensure your tools are well-maintained, and handle the material gently. If working in freezing temperatures, be especially careful when using tools like angle grinders, as sparks may pose additional fire risks.
Metal roofing scraps should be disposed of according to local regulations. In general, scrap metal is recyclable, and many cities offer metal recycling centers where you can drop off leftover pieces. Always wear gloves when handling metal scraps to avoid injury from sharp edges, and keep the work area clean to prevent accidents.