
Can You Paint a Metal Roof? A Complete Guide to Doing It the Right Way
Table of Contents
A metal roof is built to last—but over time, fading colors, oxidation, and general wear can make it look old and neglected. The good news? With the right products and techniques, painting a metal roof is not only possible—it’s one of the most cost-effective ways to boost curb appeal, extend roof life, and protect your home or building from weather damage.
This guide covers everything you need to know before you pick up a paintbrush or spray gun. You’ll learn:
✔ Why painting a metal roof is beneficial (and when it isn’t)
✔ The best types of paint, primers, and tools to use
✔ A step-by-step process to ensure long-lasting, professional results
✔ Common mistakes to avoid that can lead to peeling, rust, or wasted time and money
✔ Answers to frequently asked questions like: “How long does it last?” and “Is it worth it?”
Whether you’re a roofing professional, contractor, or homeowner looking to refresh your roof the right way, this guide will walk you through every essential step to get clean, durable, and weather-resistant results.
Benefits of Painting a Metal Roof
Painting a metal roof isn’t just about a fresh coat of color — it’s a strategic investment that enhances durability, energy efficiency, and curb appeal. Whether you’re a contractor explaining the value to a client or a homeowner considering the upgrade, here’s why painting a metal roof is worth it:
1. Boosts Energy Efficiency
Metal roofs naturally reflect sunlight, but adding a high-quality reflective roof coating can take that efficiency to the next level.
- Light-colored or reflective roof paint helps reduce heat absorption.
- Keeps indoor spaces cooler during summer
- Reduces the strain on HVAC systems and lowers energy bills
- Darker paints can be used intentionally in colder climates to retain warmth.
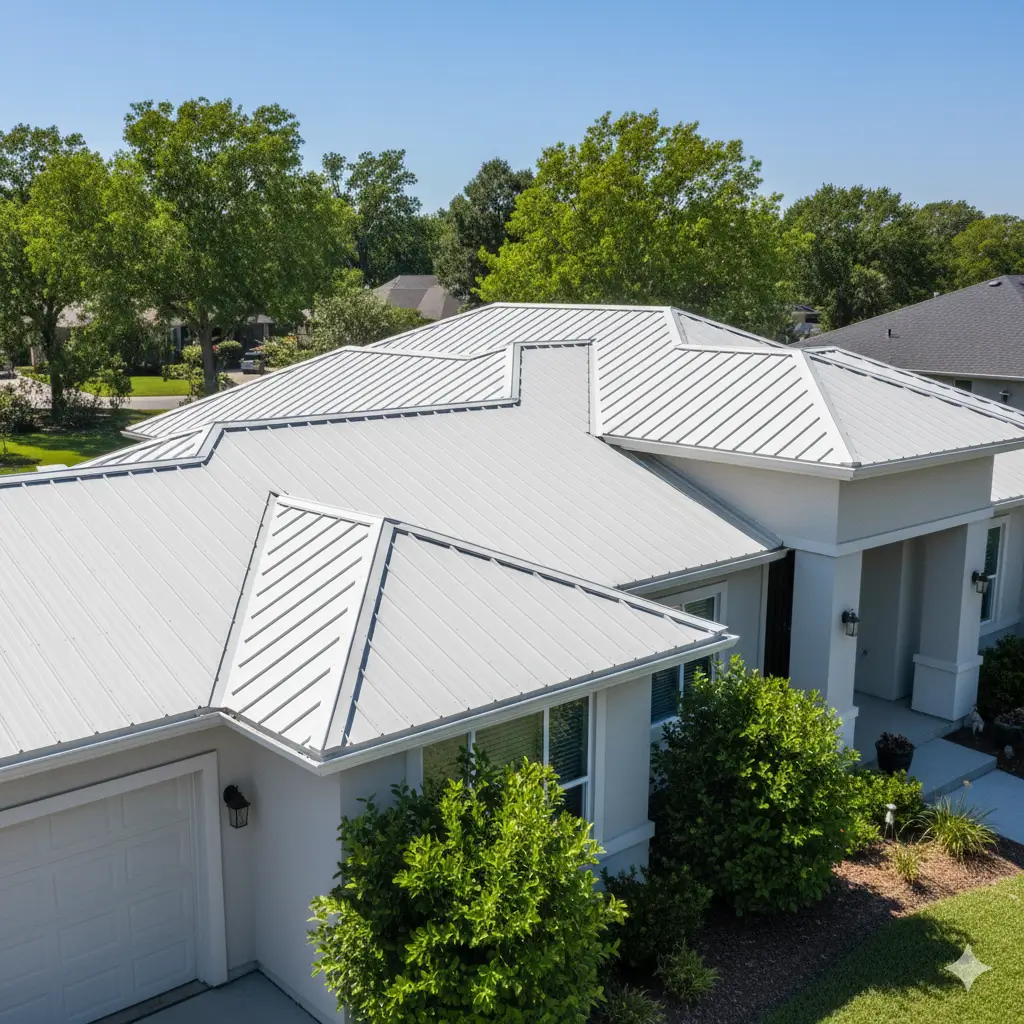
2. Enhances Curb Appeal Instantly
A faded, rusty, or peeling metal roof can bring down the look of an entire property. Painting offers a fast, affordable transformation.
- Restores a clean, modern, and polished appearance
- Wide range of colors to match siding, trim, or architectural style
- Ideal for homeowners preparing to sell or update their property’s exterior
3. Protects Against Rust, Corrosion & Weather Damage
Metal roofs are exposed to sun, rain, snow, and temperature swings — all of which can lead to oxidation and corrosion over time.
- Specialized roof paint acts as a protective barrier.
- Shields the metal from moisture, UV damage, and surface corrosion
- Extends the life of fasteners, seams, and panels
4. Extends the Lifespan of the Roof
With the right primer, paint, and maintenance, a painted metal roof can last significantly longer.
- Reduces wear and tear caused by sun and weather exposure
- Minimizes the need for frequent repairs and replacements
- Helps preserve structural integrity and performance
5. A Cost-Effective Alternative to Roof Replacement
Instead of replacing an entire roof, painting allows homeowners to preserve the existing structure while improving performance and aesthetics.
- No major tear-off or disposal costs
- Faster installation and less disruption
- Ideal for roofs that are still structurally sound
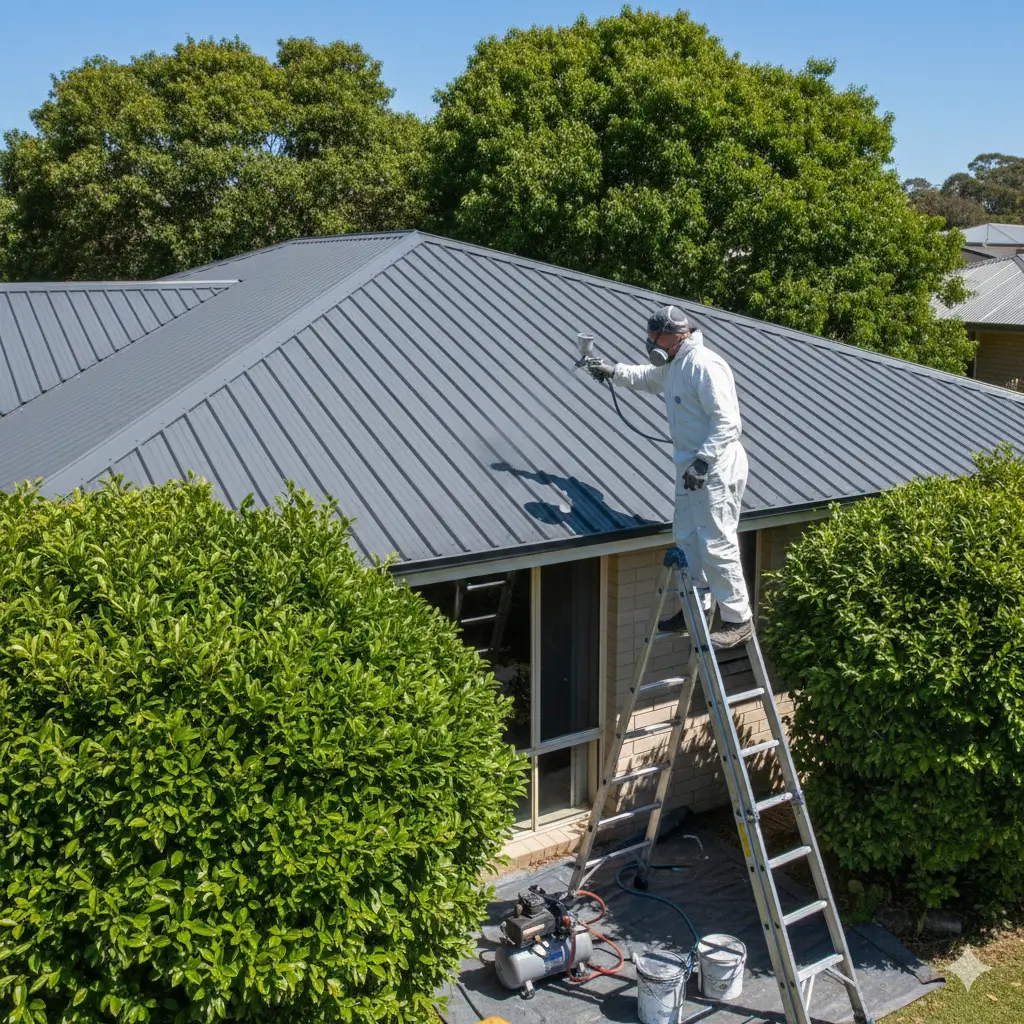
Pro Tips: How to Paint a Metal Roof (Step-by-Step)
Painting a metal roof is an excellent, cost-effective way to improve curb appeal, protect the metal from corrosion, and increase energy efficiency—when it’s done right. Follow these professional tips to deliver a durable, long-lasting finish.
1. Plan & Pick the Right Day
- Choose mild, dry weather: ideal temperature range 50°F–85°F (10°C–29°C), relative humidity below 85%, and no rain forecast for 24–48 hours after painting.
- Avoid painting in direct midday sun on very hot days (extreme heat can cause poor adhesion and fast flash drying).
- Inspect roof access, fall protection, and equipment staging in advance.
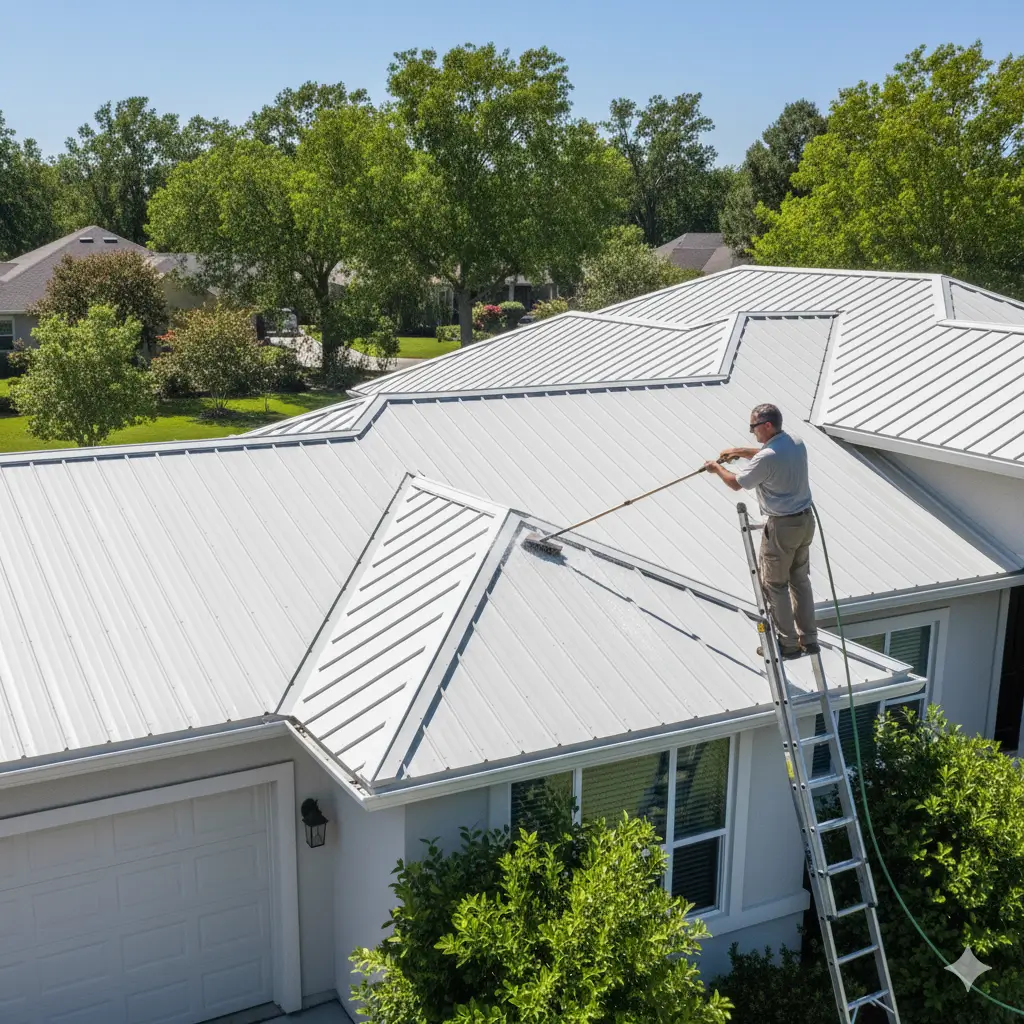
2. Thoroughly Clean the Roof (Don’t Skip This)
- Remove loose paint, dirt, bird droppings, oil, and biological growth.
- Use a pressure washer (moderate pressure) and an approved biodegradable cleaner for stubborn grime.
- Rinse well and allow the roof to dry completely before proceeding—wet or damp surfaces ruin adhesion.
Pro tip: For mold or mildew, use a manufacturer-approved cleaner and scrub prior to pressure washing.
3. Remove Rust & Repair Damage
- Wire-brush, sand, or grind away rusted areas down to sound metal.
- Sand edges where old paint is peeling, so new coats feather smoothly.
- Repair dents, loose panels, or failing fasteners; replace fasteners if needed.
- For large or severe corrosion, replace affected panels or install new metal where required.
Pro tip: After sanding, wipe the surface with a solvent-dampened rag (per product instructions) to remove dust.
4. Prime With a Metal-Specific, Rust-Inhibiting Primer
- Use a metal-grade primer formulated for exterior roofing (zinc or rust-inhibiting primers where recommended).
- Apply evenly and thinly—follow the primer manufacturer’s dry time and recoat window.
- Ensure primer compatibility with the chosen topcoat (acrylic vs oil-based).
5. Choose the Right Paint
- Acrylic-latex (water-based): fast drying, easier cleanup, UV resistant, widely used. Good for most climates.
- Oil-based / Alkyd: slower drying, excellent adhesion and moisture resistance—useful in wetter climates but requires solvent cleanup.
- Roof coatings / reflective paints: choose certified reflective or ENERGY STAR-rated products if energy efficiency is a priority.
Membrane compatibility: Ensure paint is labelled for metal roofing and compatible with the primer. Test a small area if unsure.
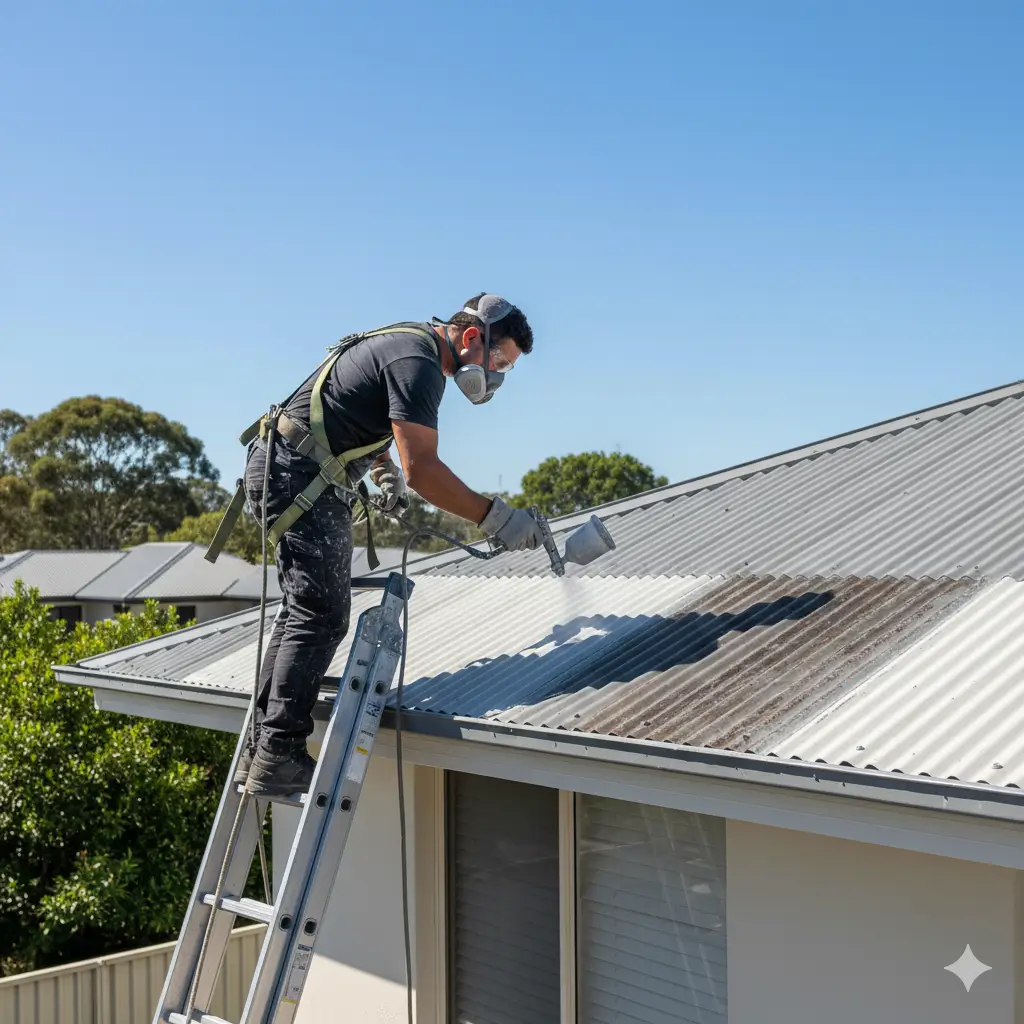
6. Use Proper Application Methods
- Sprayer = best for fast, even coverage on large roofs (reduces roller/brush marks).
- Roller = good for smaller jobs or touch-up; use a long-nap roller recommended by the paint manufacturer.
- Brush = for edges, seams, and flashings.
- Maintain a wet edge; apply several thin coats rather than one heavy coat.
Typical recoat windows (general guidance):
- Acrylic: dry to touch 1–2 hours, recoat 4–6 hours (manufacturer may vary).
Oil/alkyd: may require 12–24+ hours before recoating.
(Always follow the paint label.)
7. Pay Close Attention to Seams, Flashings & Fasteners
- Seams, ridges, and fasteners are common failure points—prep and prime them carefully.
- Consider rust-inhibiting sealant on seams and fasteners before painting.
- Use small brushes to ensure primer and paint fully cover fastener heads and seam edges.
Pro tip: Apply a seam coating or reinforcement tape where seams are worn or lifting before painting.
8. Apply Multiple Thin Coats (Patience Wins)
- Apply 2–3 thin coats for even coverage and durability. Thinner coats adhere better and resist cracking/peeling.
- Allow full recommended dry time between coats.
- Check for holidays (missed spots) and correct immediately.
9. Finish With a Quality Sealant (If Recommended)
- For extra waterproofing, apply a compatible silicone or polyurethane sealant to penetrations, fasteners, and critical seams after paint has cured.
- Some projects benefit from a clear or pigmented roof sealant/coating over the paint for extended life.
Safety & Best Practices
- Use fall protection (harnesses, guardrails), non-slip footwear, hard hats, eye and respiratory protection (especially when using sprayers or solvents).
- Ventilate enclosed roof areas properly.
- Keep a safe distance from hot work, and follow all local safety codes.
Troubleshooting: Common Problems & Fixes
- Peeling / Flaking: usually poor surface prep or incompatible primer/paint. Fix: remove failed areas, re-prep, use correct primer, and repaint.
- Blistering: often from painting over moisture or painting in direct, intense sun. Fix: allow substrate to dry, apply in proper conditions, and use breathable primers.
- Rust returning: insufficient rust removal or poor primer. Fix: sand to bare metal, apply rust-inhibiting primer, paint.
- Uneven color/streaks: inadequate mixing, poor spray technique, or too heavy coats. Fix: thin coats, correct spray settings, overlap passes.
Tools & Materials Checklist
- Pressure washer and cleaning solution
- Wire brush / sanding tools/grinder for rust removal
- Rust-inhibiting metal primer (manufacturer recommended)
- Roof paint (acrylic or oil-based) or reflective coating
- Paint sprayer (with filters), rollers, brushes
- Sealant (silicone or polyurethane) for seams/penetrations
- Fastener replacement kit, metal patches if needed
- Safety gear: fall protection, gloves, eye protection, respirator
Tips for Maintaining a Painted Metal Roof
A painted metal roof is low-maintenance—but it still needs regular care to protect the finish, prevent corrosion, and extend its lifespan. Below is a simple, prioritized maintenance plan with tools, timing, and pro tips.
1. Regular cleaning (keep it gentle)
- Why: Dirt, organic debris, bird droppings, and pollen collect on the surface, dull the finish, and trap moisture that accelerates corrosion.
- How: Twice a year (spring and fall), rinse the roof with a garden hose or low-pressure washer. For stubborn grime, use a soft-bristled brush and a mild, pH-neutral detergent or a manufacturer-approved roof cleaner.
- Do not: Use harsh solvents, wire-wheeled brushes on painted areas, or very high pressure that can damage the coating.
- Pro tip: Work top-to-bottom and rinse thoroughly so no cleaner residue remains.
2. Clear debris and manage vegetation
- Why: Leaves, twigs, and overhanging branches hold moisture and can scratch or abrade the paint. Gutters and drains clogged with debris cause ponding that shortens coating life.
- How: Remove debris monthly during fall and after storms; trim back branches at least several feet from the roof edge. Clean gutters and scuppers at least twice a year.
- Pro tip: Install gutter guards where appropriate to reduce buildup and regular maintenance.
3. Inspect frequently (spot issues early)
- Why: Early detection saves money. Small chips or rust spots are inexpensive to repair; widespread corrosion can mean panel replacement.
- How often: Do a walkaround inspection every 3–6 months and a close inspection after major storms. Use binoculars for high or steep areas if a roof walk isn’t safe.
- What to look for: Paint chips or flakes, surface rust, lifting seams, loose or missing fasteners, cracked sealant around penetrations, ponding water, and any new dents or punctures.
- Pro tip: Photograph problem areas and mark them on a maintenance map so repairs aren’t missed.
4. Repair chips and rust immediately
- Why: Exposed metal rusts quickly; a small chip can become a large problem.
- How:
- Remove loose paint and rust with a fine abrasive pad or sandpaper until you reach sound metal.
- Wipe clean and let dry.
- Apply a rust-inhibiting primer formulated for metal.
- Topcoat with the same paint used originally (or manufacturer-compatible alternative).
- Remove loose paint and rust with a fine abrasive pad or sandpaper until you reach sound metal.
- Pro tip: Match paint type (acrylic vs. oil/alkyd) and color for best adhesion and appearance.
5. Maintain seams, fasteners & flashings
- Why: Seams, fasteners, and flashings are common leak and corrosion points.
- How: Check fasteners for backing out; tighten or replace as needed. Re-seal seams and penetrations with compatible sealant if cracking or shrinkage is apparent. Reinforce worn seam areas before repainting.
- Pro tip: Use neoprene washers and manufacturer-recommended fasteners when replacing hardware.
6. Use proper products & compatibility
- Why: Incompatible primers/paints can cause adhesion failure and peeling.
- How: Always verify that the paint, primer, and sealant are rated for metal roofing and compatible with each other. Keep the product data sheets on file. If unsure, do a small test patch.
- Pro tip: For energy savings, use reflective or ENERGY STAR-rated coatings in hot climates.
7. Seasonal & storm checks
- Why: Winter freeze/thaw cycles and summer storms are hard on roofs.
- When: Inspect after severe weather (hail, high winds, heavy snow) and before winter to ensure flashing and seals are intact. Address damage promptly.
8. Keep a maintenance log
- Why: A record helps with warranty claims and resale value.
What to log: Dates of cleanings, inspections, repairs, products used (brand + batch), and photos before/after work.
DIY vs. Hiring a Professional: Which Is Right for Your Metal Roof?
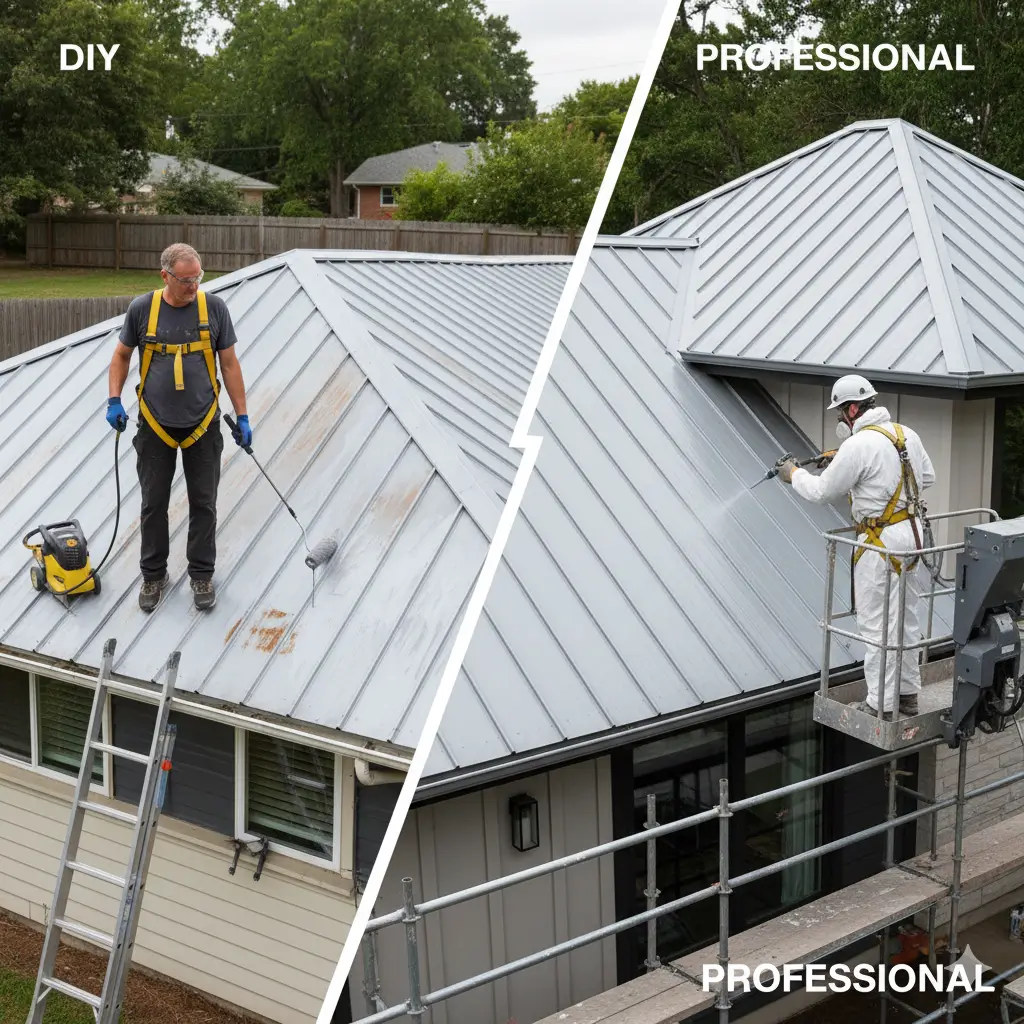
Painting a metal roof can be a satisfying DIY project — but it isn’t for everyone. The right choice depends on your comfort with working at height, your experience with surface prep and coatings, the roof’s condition, and the tools you either own or are willing to rent. Below is a practical guide to help homeowners and contractors decide.
When DIY Makes Sense
Choose DIY if all of the following apply:
- The roof has a low slope, making it easily walkable and safe to access.
- You’re comfortable with working at heights and have proper fall protection (harness, anchor points).
- The roof has minor wear only — small chips, light surface rust, and no structural damage.
- You have (or can rent) the right tools: pressure washer, wire brush/sander, sprayer or rollers, ladder, and PPE.
- You’re willing to spend the time to do thorough prep (cleaning, rust removal, priming) — that’s where success is made or lost.
DIY advantages: lower out-of-pocket labor costs, full control over scheduling, and satisfaction from completing the project yourself.
DIY drawbacks: higher personal risk, learning curve on proper prep/application, potential for costly mistakes (poor adhesion, missed rust, leaking seams) that lead to faster paint failure.
When You Should Hire a Professional
You should hire a licensed, experienced roofer if any of the following apply:
- The roof is steep, high, or awkward to access, increasing fall risk.
- The roof shows extensive rust, multiple damaged panels, or saturated insulation — issues that require repair beyond painting.
- The job requires specialized equipment (commercial sprayer, boom lift, robotic welders) or scaffold systems.
- You want a warranty-backed installation for paint/coating longevity or to meet insurance/manufacturer requirements.
- You value speed, guaranteed workmanship, and professional finishing (tight seams, consistent coverage, proper flashing treatment).
Pro advantages: professional safety practices and insurance, efficient and consistent application, deeper troubleshooting (repair + paint), access to premium materials and warranties.
Pro drawbacks: higher upfront cost and need to vet contractors carefully.
Safety & Legal Considerations (non-negotiable)
- Always use fall protection when working on roofs. Harnesses, anchor points, guardrails, or professional scaffolding are essential.
- Check local building codes and HOA rules — some areas require licensed contractors for roofing work or may affect warranty validity if unlicensed work is done.
- If you hire pros, confirm they carry liability and workers’ comp insurance.
Cost Considerations
- DIY: Material and rental costs only (primer, paint, sealant, tool rental). Safer for small, simple roofs.
- Professional: Adds labor, equipment, disposal, and warranty costs. Pros can be cost-effective for large or complex roofs due to speed and fewer mistakes.
- Always compare at least 3 contractor quotes, making sure each uses the same scope, materials, and warranty terms.
Questions to Ask a Contractor (vetting checklist)
- Are you licensed and insured? Can you provide certificates?
- What brands and product specs will you use (primer, paint, mil-thickness, warranty)?
- Do you offer a warranty on workmanship and materials? What exactly does it cover?
- Can you show before/after photos of similar projects and references?
- How will you handle surface prep (rust removal/repairs)? Is that included?
- What safety measures will your crew take? Will you provide proof of workers’ comp?
- What is the project timeline and clean-up plan? Any disruption to occupants?
- How do you handle unforeseen repairs found during the job (cost approvals, timeline changes)?
Conclusion
Painting a metal roof isn’t just about improving curb appeal—it’s an investment in protection, performance, and long-term value. When the surface is properly cleaned, repaired, and prepped, paint adheres better and forms a durable shield against rust, UV rays, moisture, and harsh weather. Choosing a premium metal-compatible paint or reflective coating can make a noticeable difference in energy efficiency, durability, and overall lifespan of the roof.
Whether you choose to DIY or hire a professional, following the right steps—surface cleaning, priming, using quality products, and applying paint correctly—ensures long-lasting results. Professionals often deliver a more flawless finish and save time, especially on larger or high-risk roofs.
After the painting is done, your work doesn’t end. Regular cleaning, debris removal, inspections, and touch-ups on chipped or peeling areas help preserve the finish and prevent future damage.
In the end, a well-painted metal roof adds beauty, boosts property value, increases energy efficiency, and prolongs your roof’s life. With proper planning, the right materials, and consistent maintenance, this project becomes a smart, cost-effective upgrade that pays off for years to come.
Related Content:
Frequently Asked Questions About Painting a Metal Roof
Yes, metal roofs can be painted. When high-quality paint and proper techniques are used, the finish can last anywhere from 10 to 15 years. Factors like weather exposure, surface preparation, and ongoing maintenance can affect how long the paint holds up.
The best options are acrylic latex paint or oil-based (alkyd) paint specifically formulated for metal and exterior surfaces. Look for products that offer UV resistance, rust protection, and weather durability to ensure a long-lasting finish.
Yes, priming is essential. A metal primer helps prevent rust, allows the paint to bond better, and improves durability. Skipping primer can lead to peeling, fading, or premature paint failure.
On average, a metal roof should be repainted every 8 to 15 years. However, this depends on the climate, quality of the previous paint job, and how well the roof has been maintained over time.
Preparation is key to a smooth and long-lasting result. You should:
- Clean the roof thoroughly to remove dirt, mildew, old paint, or debris (pressure washing is ideal).
- Sand or scuff any peeling or rusted areas.
- Apply a rust-inhibiting primer before painting.
Typically, allow 24 to 48 hours between coats. Drying times may vary with humidity, temperature, and the type of paint used. Always follow the manufacturer’s recommendations for best results.
DIY is possible if you have the skills, tools, and safety equipment. However, hiring a professional ensures proper surface preparation, even paint application, and a longer-lasting finish—especially for larger or high-roof projects.
No. Shingles and metal surfaces require different coatings and treatments. Painting over shingles can lead to peeling, poor adhesion, and uneven coverage.
To extend the life of the paint:
- Clean the roof at least once a year to remove dirt and debris.
- Trim overhanging branches.
- Inspect for rust, peeling paint, or damage and touch up when necessary.